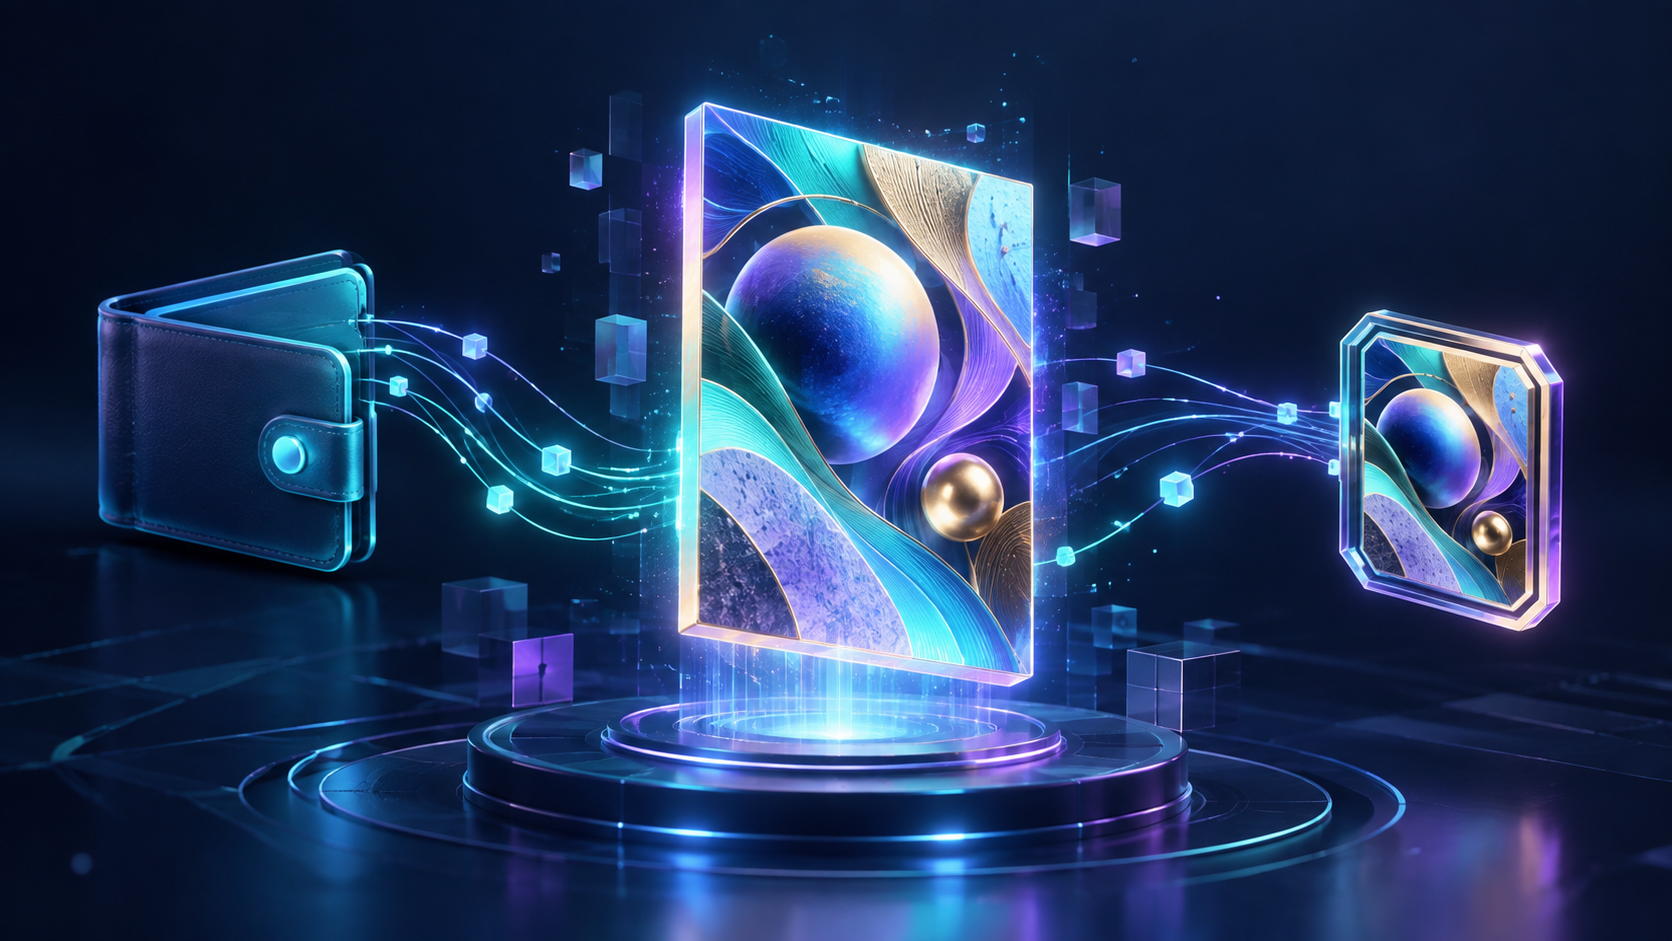
Creating an NFT involves more than uploading an image and clicking “Mint.” You need to choose a blockchain, prepare a digital file, set up a compatible wallet, understand the costs, and decide what rights a buyer will receive. This step-by-step guide explains how to create and mint an NFT while avoiding common mistakes involving copyright, fees, and wallet security.
What Does It Mean to Create and Mint an NFT?
An NFT, or non-fungible token, is a blockchain token with an identity that distinguishes it from other tokens. Creating the digital work and minting the NFT are separate actions. You might create an illustration on your computer today and mint a token associated with it later.
Minting records a new token through a blockchain transaction. The token’s smart contract and metadata can connect it to a name, description, image, or other content. The NFT and the underlying media are related, but they are not necessarily the same thing: a token may point to a file stored elsewhere.
This distinction affects what you should promise buyers. A blockchain record can show which wallet holds a particular token. By itself, it does not prove that the minter created the artwork, owns its copyright, or has permission to use every element in the file.
Step 1: Decide What You Want to Create
Start with the work and its purpose. An NFT can be associated with digital art, photography, music, a membership benefit, a game item, or another clearly described asset. Decide whether you want to mint one item, several distinct items, or multiple copies of one item.
Before preparing a collection, write down:
- What the NFT represents
- How many tokens or copies you plan to create
- Whether buyers receive access to any additional product or service
- What uses of the underlying work you will permit
- How you will deliver any promised benefit
Keep these descriptions specific. If an NFT provides access to an event or online community, explain who provides that access and for how long. The token’s existence alone does not ensure that an outside service will continue operating.
Step 2: Confirm Your Rights to the Content
Only mint content you created or have the necessary permission to use. Check every component, including stock images, music samples, fonts, logos, photographs of other people, and material produced with collaborators.
Minting an NFT does not automatically grant copyright to its buyer. The rights transferred with a sale depend on the applicable terms and any separate agreement. If buyers may reproduce, modify, or commercially use your work, describe those permissions clearly. If they may only hold and resell the token, avoid implying that they own the underlying intellectual property.
The U.S. Copyright Office and the U.S. Patent and Trademark Office have identified confusion over intellectual property rights in NFT creation and transfers. Rules can differ by location, so review the rights that apply to your work and intended audience.
Step 3: Choose a Blockchain and NFT Platform
The blockchain determines where the NFT is recorded. The platform provides tools for creating a collection, uploading media, minting, and sometimes listing the NFT for sale. Check that the platform supports the blockchain you want to use.
Compare these points before connecting a wallet:
- Network costs: Which actions require a blockchain transaction, and what currency pays its fees?
- Platform fees: Does the service charge for creation, minting, listing, or sales?
- Token format: Does the platform create a unique token or support several copies of an item?
- Media handling: What file types and sizes does it accept, and where is the media stored?
- Contract control: Who controls the collection’s smart contract and its settings?
- Buyer access: Can your intended audience use the network and marketplace?
- Support and documentation: Are current instructions available from the platform itself?
Ethereum NFTs commonly use standards such as ERC-721 for individually identifiable tokens and ERC-1155 for designs that can support multiple token types or copies. You do not need to write a smart contract yourself if you use a platform that provides creation tools, but you should understand what its tools deploy on your behalf.
Step 4: Set Up and Protect a Compatible Wallet
A wallet lets you connect to an NFT platform and approve transactions. Choose one that supports your selected blockchain, then follow the wallet provider’s official setup instructions.
If the wallet gives you a recovery phrase, make a secure backup and keep it private. Never enter the phrase into an NFT marketplace page, send it to a person claiming to offer support, or store it in a publicly accessible file. Someone with the recovery phrase may be able to control the wallet.
Consider using a dedicated wallet for NFT creation so that a mistake involving an unfamiliar website does not expose assets held in your main wallet. Before signing, check the website address, connected network, requested permissions, and transaction details. A wallet connection request and a transaction approval are different actions.
Step 5: Prepare the File and Metadata
Export your final image, audio, video, or other supported file in a format accepted by the chosen platform. Keep your original working files and a separate backup. Check that the uploaded version displays correctly on both desktop and mobile screens.
Prepare the information buyers will see alongside the NFT:
- Name: A clear item title
- Description: What the item represents and any important limitations
- Supply: The number of copies, if the platform allows a choice
- Traits or attributes: Relevant features, used only when they describe the item accurately
- External link: An official project or creator page, if useful
- Rights information: A clear explanation or link to the applicable license
Some metadata or media may be editable later; other details may be difficult or impossible to change after a contract is deployed or a token is minted. Review the platform’s current rules before confirming permanent settings. Also consider how the media and metadata will remain available over time if a hosting service closes or changes its policies.
Step 6: Review Costs Before Minting
There is no universal “free NFT minting” rule. Costs depend on the blockchain, platform, and exact action. A service may let you prepare an item without an immediate blockchain transaction, while deploying a contract or minting the token requires a fee.
For example, OpenSea’s current creation instructions describe a gas fee to deploy a collection contract and a wallet approval when minting an item. Its support material also distinguishes blockchain gas fees from fees charged by the platform. These details can change, so check the current fee information before approving a transaction.
Budget for more than the initial mint. Depending on the service, later actions such as changing collection settings, approving a sale, transferring an item, or accepting an offer may create additional costs. A transaction fee can sometimes be paid even when an attempted transaction fails.
Step 7: Create the Collection and Mint the NFT
The exact buttons differ among platforms, but the process generally follows this order:
- Open the platform’s official website and connect your compatible wallet.
- Choose the supported blockchain and the appropriate collection or item creation option.
- Enter the collection information and review any smart contract settings.
- Upload the media file and enter the item’s name, description, supply, and other metadata.
- Review the preview, rights description, network, and estimated fees.
- Read the wallet request carefully and approve it only if the details match your intention.
- Wait for the blockchain transaction to be confirmed.
Do not assume that uploading a file means the NFT has been minted. Confirm whether the platform has actually submitted a mint transaction or only saved a draft. OpenSea, for example, separates creating a collection contract from minting an item into a wallet.
Should You Mint One NFT or Multiple Copies?
A supply of one may suit a single-edition work. Multiple copies can suit a membership item, game asset, or limited edition. Neither choice guarantees rarity across all blockchains or prevents another person from copying the media file.
State the planned supply clearly and check whether the contract permits additional minting later. Buyers may care about both the current supply and who has permission to create more tokens.
Step 8: Verify the NFT After Minting
Once the transaction is confirmed, inspect the NFT in your wallet or on the platform. Verify the blockchain, contract address, token ID, owner address, media, name, description, and supply. A similarly named collection may be an imitation, so names and images alone are not reliable identifiers.
Keep a record of the transaction and the collection settings. If an image does not appear immediately, check whether the platform is still updating its display before submitting another transaction. Repeating a mint without checking the first transaction can create an unintended duplicate.
Step 9: Decide Whether to List It for Sale
Minting and selling are separate decisions. You can hold an NFT in your wallet without listing it. If you choose to sell, review the listing price, accepted currency, platform charges, possible creator earnings, and any additional wallet approval.
Explain what the buyer receives. Avoid promising that the NFT will rise in value or that resale income is guaranteed. Creator earnings and their enforcement can depend on marketplace rules and contract design, so verify the platform’s current terms rather than assuming every later sale will pay a royalty.
Common NFT Minting Mistakes
Treating the NFT as Proof of Copyright
A token record identifies a token and its transactions. It does not independently verify that an uploaded image is original or that the minter owns the copyright. Keep creation records and make your license terms clear.
Approving an Unexpected Wallet Request
A fake marketplace or message may ask you to sign a transaction described as a “verification” or a payment to fix a sale. Stop if the request differs from the action you intended. Legitimate gas fees are shown through the wallet transaction flow; sending funds to a stranger’s private address is not a normal way to pay them.
Ignoring Media Storage
A token can remain on a blockchain while the linked media becomes unavailable. Check how the platform stores files and whether you can maintain a durable copy of the media and metadata.
Forgetting the Total Cost
Compare contract deployment, minting, marketplace, and later transaction costs. A low initial fee does not tell you what the entire process will cost.
Publishing Unclear Buyer Rights
Describe whether a sale includes personal display rights, commercial use, access to a service, or only ownership of the token. Make no promise that you cannot fulfill.
Related Guides
- Crypto Wallet Types Explained
- How to Set Up a Crypto Wallet
- How to Protect Your Private Keys
- NFT Trading Volume Explained
Official Resources
- Ethereum.org – Non-Fungible Tokens
- Ethereum.org – ERC-721 Token Standard
- OpenSea Help Center – How Do I Create an NFT?
- U.S. Copyright Office – Non-Fungible Token Study
FAQs
Do I need coding skills to mint an NFT?
No. Some platforms provide tools to create a collection and mint an NFT without writing code. Creating a custom smart contract offers more control but requires additional technical review and carries different risks.
Is minting the same as listing an NFT for sale?
No. Minting creates the token on a blockchain. Listing offers an existing token for sale on a platform.
Do I always have to pay a gas fee?
A blockchain transaction generally has a network cost, but when you pay, who pays, and how the cost appears depend on the platform and transaction. Review the wallet prompt and current platform documentation before confirming.
Does the buyer own my artwork’s copyright?
Not automatically. Token ownership and copyright are separate matters. Any copyright transfer or license should be stated clearly in the applicable agreement.
Can I edit an NFT after minting?
That depends on the smart contract and platform. Some metadata can be updated, while other information cannot. Review these controls before minting, especially if permanent presentation matters to your project.
Can someone copy the image associated with my NFT?
Yes. A person may be able to download or reproduce a visible media file. An NFT’s token record does not prevent copies of the image, and disputes over unauthorized uses may require action outside the blockchain.
Final Thoughts
To create and mint an NFT, begin with a work you have the right to use. Then choose a blockchain and platform, secure a compatible wallet, prepare the media and metadata, and review every transaction before approving it. After minting, verify the token and its linked content before deciding whether to list it for sale.
A successful mint creates a blockchain token. The lasting value of the project depends on clearer questions: what the token represents, what rights or benefits its holder receives, how the content remains available, and whether you can meet the promises made to buyers.

 Bitcoin
  Ethereum
  Tether
  BNB
BNB  XRP
XRP  USDC
USDC  Solana
  TRON
TRON  Figure Heloc
  Zcash
Zcash